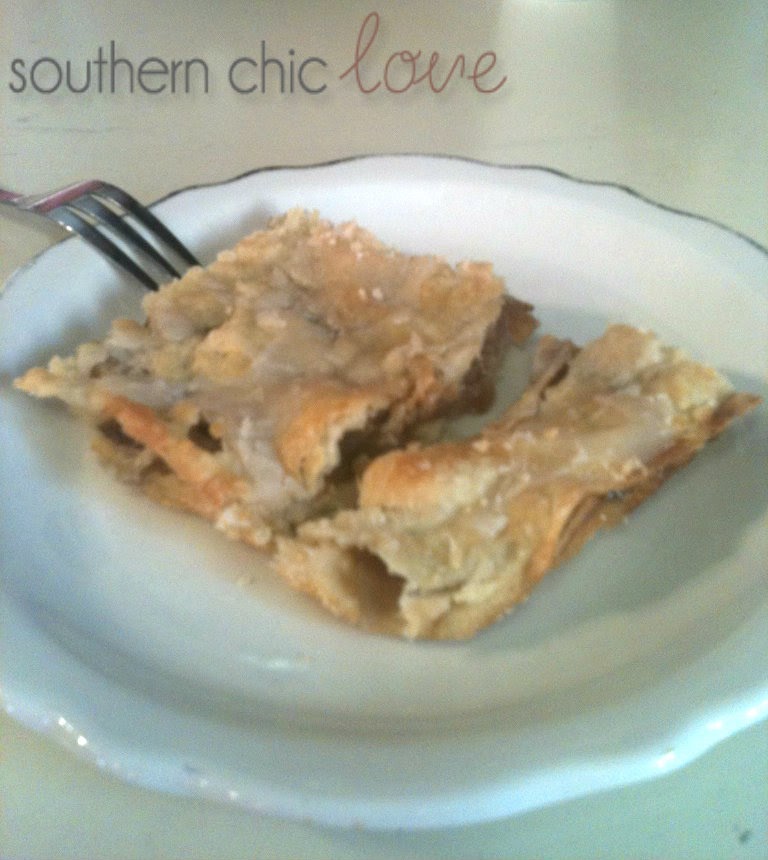


happy monday, y’all! my family had thanksgiving dinner yesterday. i love the holidays. i look forward to them every year and i get so sad when it’s over! i love spending time with my family and trading recipes and laughs. i’ve become the dessert lady at my family dinners. the ladies on my side are some fabulous cooks…i mean like mouth-watering, gain twenty pounds, extraordinary cooks. it’s a hard name to live up to. but this recipe seems to be a hit. i’ve adapted it a couple times depending on what fruit is in season, so for thanksgiving this year, i used apples. it’s originally from the taste of home magazine. and, if you’ve never tried rhubarb, it’s worth it. it’s tart and wonderful.
raspberry rhubarb slab pie
Ingredients
- 3-1/4 cups all-purpose flour
- 1 teaspoon salt
- 1 cup butter
- 3/4 cup plus 1 to 2 tablespoons 2% milk
- 1 egg yolk
- 2 cups sugar
- 1/3 cup cornstarch
- 5 cups fresh or frozen unsweetened raspberries, thawed and drained
- 3 cups sliced fresh or frozen rhubarb, thawed and drained
- VANILLA ICING:
- 1-1/4 cups confectioners' sugar
- 1/2 teaspoon vanilla extract
- 5 to 6 teaspoons 2% milk
Directions
- In a large bowl, combine flour and salt; cut in butter until crumbly. Whisk 3/4 cup milk and egg yolk; gradually add to flour mixture, tossing with a fork until dough forms a ball. Add additional milk, 1 tablespoon at a time, if necessary.
- Divide dough in half so that one portion is slightly larger than the other; wrap each in plastic wrap. Refrigerate for 1 hour or until easy to handle.
- Roll out larger portion of dough between two large sheets of lightly floured waxed paper into an 18-in. x 13-in. rectangle. Transfer to an ungreased 15-in. x 10-in. x 1-in. baking pan. Press onto the bottom and up the sides of pan; trim pastry to edges of pan.
- In a large bowl, combine sugar and cornstarch. Add raspberries and rhubarb; toss to coat. Spoon into pastry.
- Roll out remaining dough; place over filling. Fold bottom pastry over edge of top pastry; seal with a fork. Prick top with a fork.
- Bake at 375° for 45-55 minutes or until golden brown. Cool completely on a wire rack.
- For icing, combine confectioners' sugar, vanilla and enough milk to achieve a drizzling consistency; drizzle over pie. Cut pie into squares. Yield: 2 dozen.
*my personal side notes*
- it takes more than a couple tablespoons of milk to get the dough to “workable” form.
- rolling out the dough is not an easy feat. get it somewhat rectangular and then just try to manipulate it in the pan.
- when you “cut in” the butter, use a mix ‘n masher from pampered chef, or just a plain potato masher if you have one.
this stuff is crazy good. and trust me, it will be a hit wherever you decide to take it!
today we’re also featuring a few projects from some other lovely bloggers! here are a few of the simple with a big punch projects that you shared with us last week:

stacey from embracing change re-did this fabulous sideboard. if you need furniture ideas, her blog is the place to be!

lauren at the thinking closet. made a wedding invitation ornament. how cute is that? what a simple gift idea!

pj at planned in pencil. made this adorable banner for her front door. i can’t wait to try this! check out her blog to see why she plans in pencil.
hope you have a fabulous week! enjoy the holiday and soak up all that food and family time!
linking with...
sunday
linking with...
sunday
i heart nap time flamingo toes diy show off nifty thrifty things twigg studios under the table and dreaming debbiedoo's my 1929 charmer sew can do the girl creative lines across
i should be mopping the floor petite hermine flour me with love c.r.a.f.t. wtfab
sumos sweet stuff diy hsh homemaker on a dime This gal cooks the southern institute
keeping up with the rheinlanders three mango seeds Design dreams by anne Cupcakes and crinoline
it's so very cheri Setting for four Navy wifey peters Or so she says
i should be mopping the floor petite hermine flour me with love c.r.a.f.t. wtfab
sumos sweet stuff diy hsh homemaker on a dime This gal cooks the southern institute
keeping up with the rheinlanders three mango seeds Design dreams by anne Cupcakes and crinoline
it's so very cheri Setting for four Navy wifey peters Or so she says
monday
keeping it simple alderberry hill craft-o-maniac serendipity and spice the gunny sack
skip to my lou the dedicated house coastal charm boogieboard cottage funky polkadot giraffe
home stories a to z todays creative blog mrs happy homemaker sew many ways
chef-in-training the rustic pig my uncommon slice of suburbia the-chicken-chick
sewing barefoot
skip to my lou the dedicated house coastal charm boogieboard cottage funky polkadot giraffe
home stories a to z todays creative blog mrs happy homemaker sew many ways
chef-in-training the rustic pig my uncommon slice of suburbia the-chicken-chick
sewing barefoot
tuesday
claiming our space elizabeth and co ivy and elephants uncommon designs
Thrifty Decor Chick house on the way carolyns homework domestically-speaking
lovely crafty home vintage wanna bee sugar bee crafts not just a housewife
reasons to skip the housework the kurtz corner ladybug-blessings my girlish whims
the winthrop chronicles nap-timecreations the diy dreamer jaqs studio
fabric bows and more twin dragonfly designs sew-much-ado
vintage on a dime
Thrifty Decor Chick house on the way carolyns homework domestically-speaking
lovely crafty home vintage wanna bee sugar bee crafts not just a housewife
reasons to skip the housework the kurtz corner ladybug-blessings my girlish whims
the winthrop chronicles nap-timecreations the diy dreamer jaqs studio
fabric bows and more twin dragonfly designs sew-much-ado
vintage on a dime
wednesday
tutorial tips & tidbits through the eyes of the mrs no minimalist here seven-alive
snap creativity sugar and dots the trendy treehouse momnivores-dilemma
primp fireflies and jellybeans fine craft guild a creative princess night owl crafting
snap creativity sugar and dots the trendy treehouse momnivores-dilemma
primp fireflies and jellybeans fine craft guild a creative princess night owl crafting
thursday
the shabby creek cottage my repurposed life liz marie blog somewhat simple a glimpse inside
the 36th avenue house of hepworths love bakes good cakes chase the star love and laundry
craft junkie too western warmth fresh-eggs-daily fingerprints on the fridge
answer is chocolate delightful order chic on a shoestring decorating one artsy mama
simply designing the artsy girl connection little becky homecky sweet bella roos
the 36th avenue house of hepworths love bakes good cakes chase the star love and laundry
craft junkie too western warmth fresh-eggs-daily fingerprints on the fridge
answer is chocolate delightful order chic on a shoestring decorating one artsy mama
simply designing the artsy girl connection little becky homecky sweet bella roos
friday
craftionary 2805 from my grey desk delicate construction 504 main just us four blog
simple home life becoming martha fox hollow cottage my romantic home family ever after blog
simple home life becoming martha fox hollow cottage my romantic home family ever after blog
the shabby nest crafty scrappy happy finding fabulous stuff-and-nonsense the gingerbread blog
french country cottage the grant life jennifer rizzo redoux tater tots and jello common ground
one project closer lovely crafty home at the picket fence happy hour projects serenity now
french country cottage the grant life jennifer rizzo redoux tater tots and jello common ground
one project closer lovely crafty home at the picket fence happy hour projects serenity now
saturday